Azure Devops Self Hosted Agent Configuration


Azure Devops can allow you to set a machine of your choice to be the build agent of your project rather than using the default Microsoft-provided build agents. For example, in cases where you may have an extremely complex build process that you know can build on your machine with no issue, you use your machine to build, whilst still continuing to execute any other procedures in Azure Devops as part of your CI/CD pipeline.
This might be an actual case where "It works on my machine" is actually useful and qualifies for your needs!!!
First, we want to create a Personal Access Token for our agent to be able to use:
- In Azure DevOps, navigate to your profile and select User Settings
- Under "Personal access tokens," select "New token."
- Give your token a descriptive name and select a duration for the token.
- Under "Scopes," select "Build (read & execute)" , Agent Pools (Read & manage), Connected server, Service Connections (Read, query & manage) to provide the necessary permissions for registering the Agent and running builds on your self-hosted agent. Note that depending on your organisation's settings, the permissions required may vary.
- Click create and save the personal access token you see in the following screen in a secure location. We will need this personal access token shortly.
Thanks ChatGPT 🤗!!!
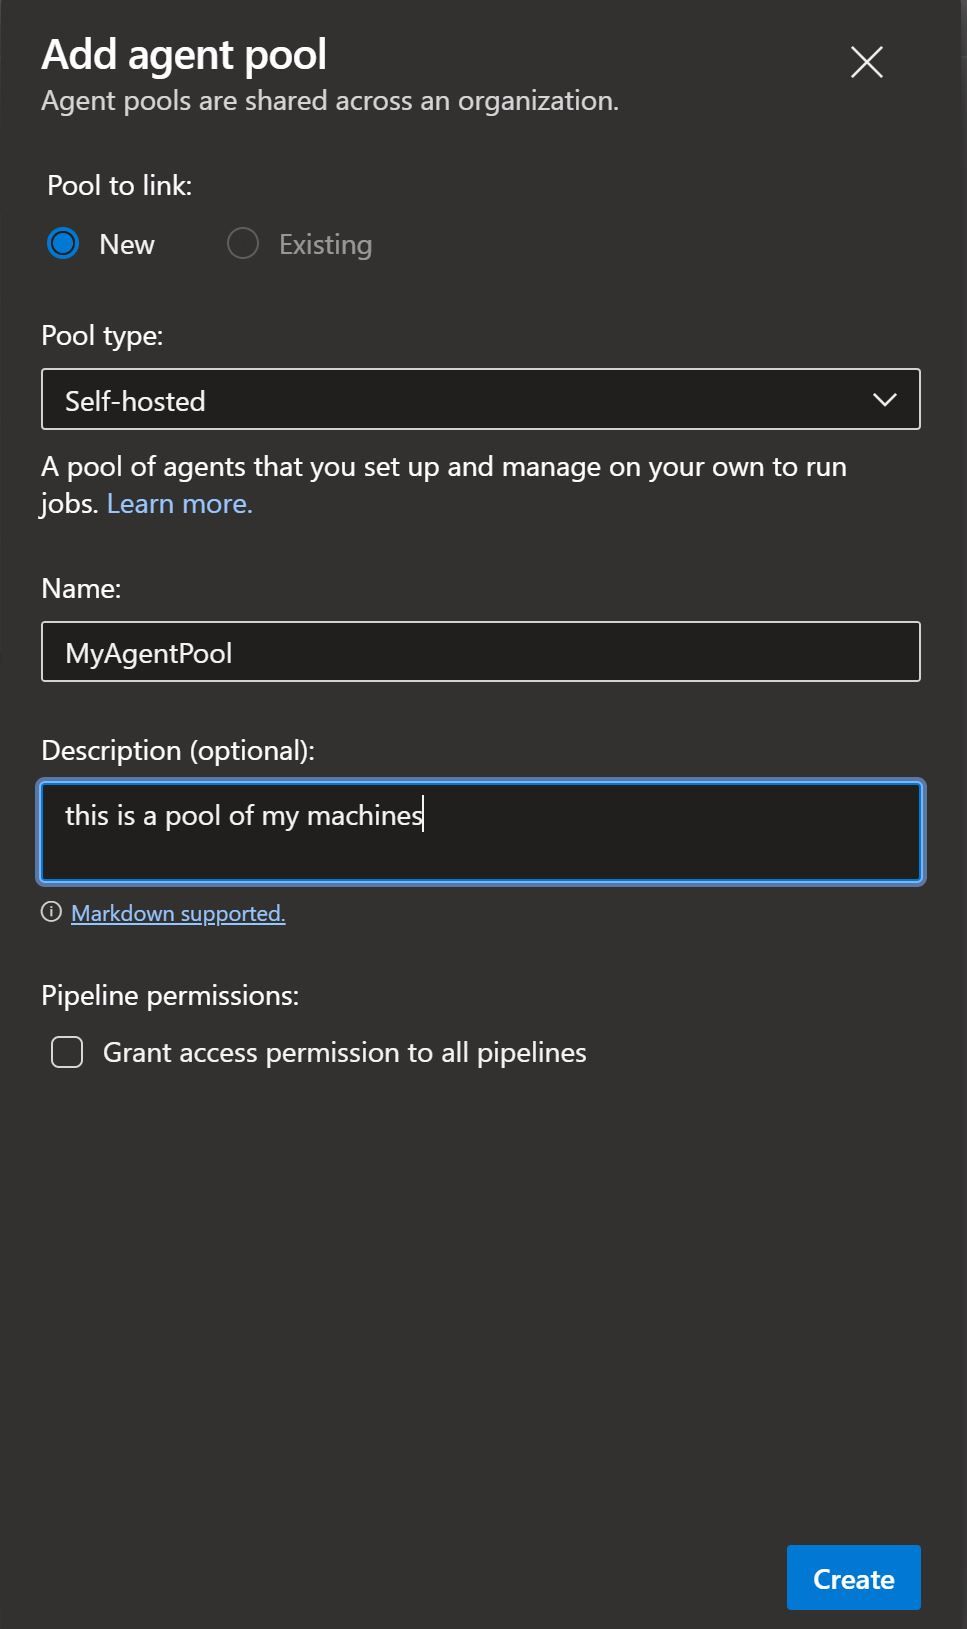
Next, you will need to create an Agent Pool. You can think of the Agent Pool as a collection of one or more machines you choose to be your custom build agents. Navigate to "Project Settings", then under Pipelines, choose Agent Pools and configure your new Agent Pool:
You should see a screen that prompt you to download the Agent zip file for your machine to use.
Once you have downloaded your zip file, run the following Powershell script in an Administrative session. (In my case I am using the Windows x64 script. (Your script will be different if you are targeting MacOS or Linux):
cd c:/
mkdir agent ; cd agent
Add-Type -AssemblyName System.IO.Compression.FileSystem ; [System.IO.Compression.ZipFile]::ExtractToDirectory("$HOME\Downloads\vsts-agent-win-x64-2.217.2.zip", "$PWD")Then run:
.\config.cmdYou should see the following screen asking you to connect to your server URL. This will be https://dev.azure.com/{yourOrganisationName}:
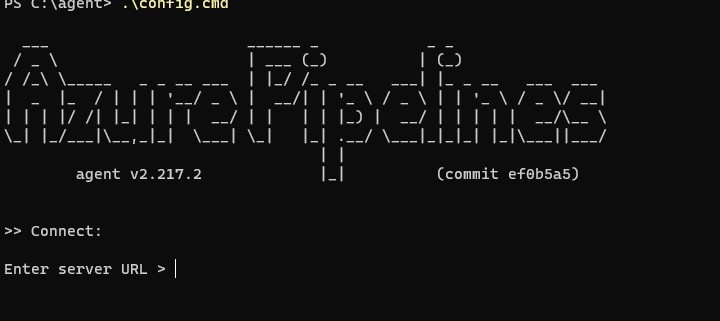
After entering your server URL, press Enter for the authentication type as we will be using our Personal Access Token. Copy and Paste the personal access token you saved earlier and press Enter:

Once the server is connected, you can specify the name of your Agent Pool that your agent(machine) will live under. In the illustration above, I set my Agent Pool to MyAgentPool which is the name of the pool I set earlier.
Answer the prompts that follow as desired. Here are mine:
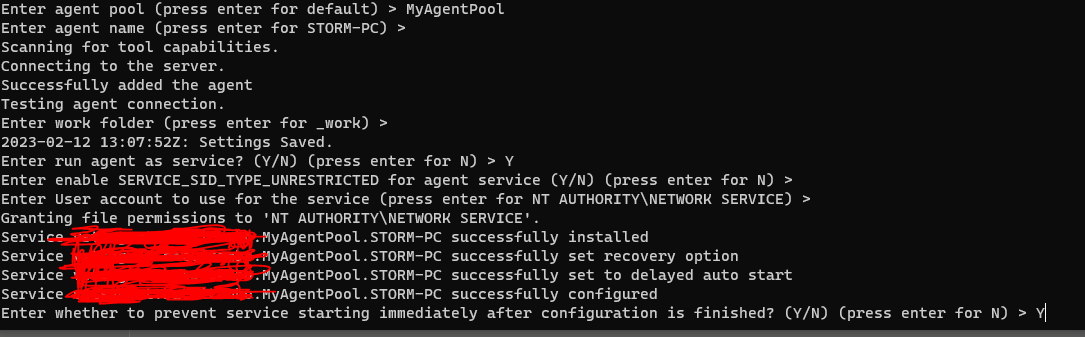
Answering Yes should start the service on your machine immediately, but to be sure, you can run the following (within the same session as above):
.\run.cmdYour agent should start to listen for any incoming jobs:

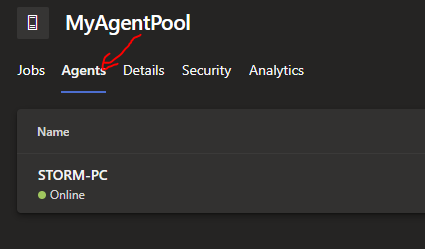
In Azure Devops, under Project Settings > Agent Pools > {YourAgentPoolName} > Agents, you should now see that the Pool now has a new Active Agent that is ready:
You can now set your build pipeline to utilise your pool with YOUR machine, which should work wonders because you know YOUR machine works!!
In your build pipeline, you can set this as the following where you would normally find the default Azure pool defined:
pool:
  name: MyAgentPool
Edit your Pipeline with the above, Save and run the build on YOUR machine.
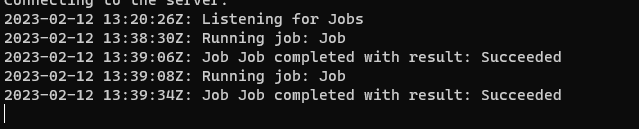
Please note that after running, the Job may require extra permissions to continue which you can enable by clicking into the Job Queue log and then Accepting the Permission. Once running, you can then see the some logs on your machine's Terminal similar to this:
Conclusions
Running Self hosted Agents is one way to circumvent dependencies in a scenario where you wish to build your complex projects with machines that you own and know are configured just the right way to get successful results. However it should be noted that the ultimate solution to eliminate 'It works on my machine' for running applications is to aspire to move to a Containerisation world where once a container is created, it behaves the same across all environments and we worry a lot less about how the project builds or runs.
Disclosure, parts of this blog post were done in collaboration with ChatGPT.